Wren’s Play Kitchen!

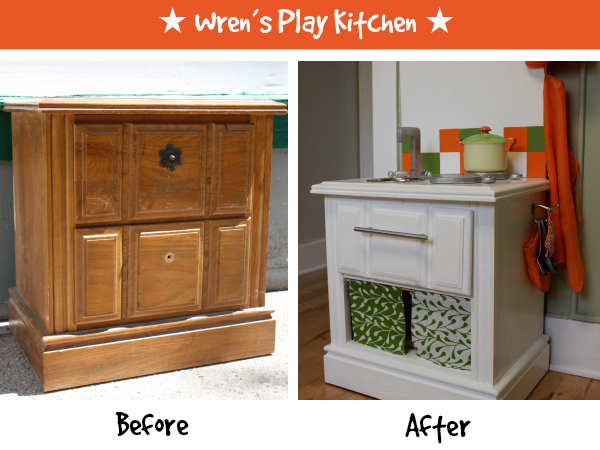
I’m very excited to share this project with you, lovelies! I spotted the (ugly-as-sin) nightstand in a nearby alley well over a year ago with heartfelt intentions to make it over into a play kitchen for the little birdie that very day. I saw other DIY play kitchens like this by Vintage Songbird and this one by Vicki Howell made from old nightstands and was inspired to make one for Wren.

Chris snagged it for me, dragged it home and then it lived in our basement, awaiting a transformation. It waited and waited. What a patient nightstand! It was going to be a 1st birthday gift, then it was going to be a Christmas gift, and now (finally!) a 2nd birthday gift. Yahoo!

Here are some images and a few notes on the process…

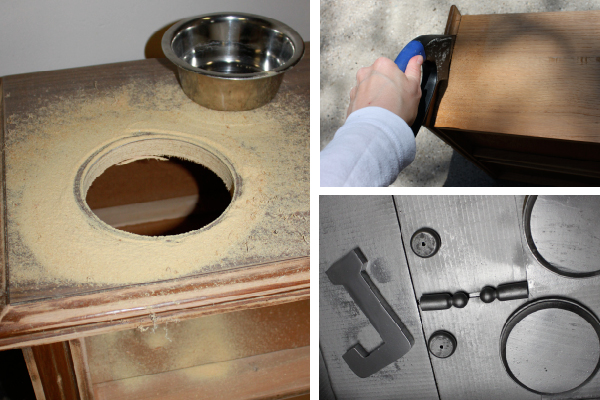
First I hauled the nightstand outside and sanded everything down so the paint would adhere better then the real work began on making the piece of junk great alley find look like a kitchen.

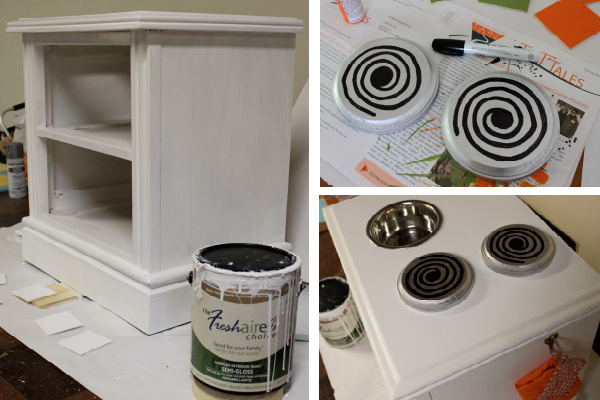
Everything AND the kitchen sink. I found an old metal dog bowl at Goodwill for $.99: perfect for a little sink and perfect for the wallet too. Chris cut out the hole for me after I tried and failed to do it myself.  Meanwhile I sawed off the front of one of the drawers and discarded the other pieces. Then I spray-painted the wood pieces for the burners, knobs and faucet. The faucet is just an upside-down “J” that I saw on other play kitchens.

Then I painted the whole nightstand with about three coats of white paint. I hand-painted the burner coils with a Sharpie paint pen. Then glued them on to the cooktop area with some handy Gorilla Glue. That stuff rocks! I also screwed on a little coat hook on the side for a hot pad and oven mitt (on clearance at Michael’s for $.99, yesssss).

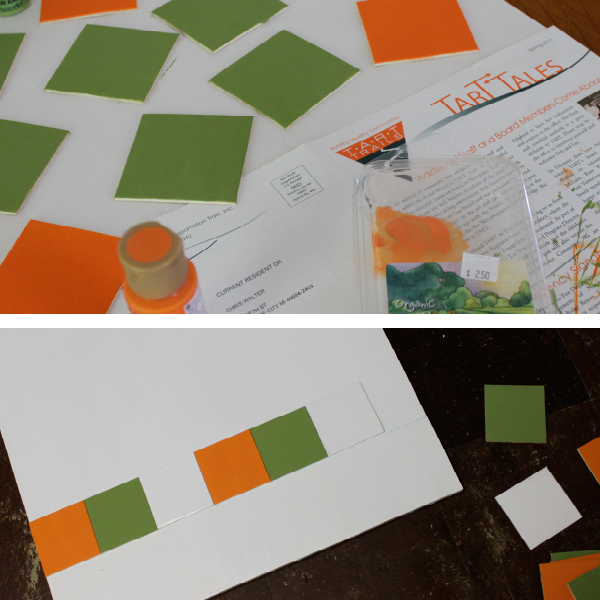
Next up, the backsplash. I painted the backsplash tiles orange, white and green. These are just simple $.29 wood craft tiles that were easy to adhere with the glue to the plywood board we attached to the back of the kitchen. I still want to add a shelf to the back of it because it looks a bit naked, but I haven’t done that yet.

I don’t have photos of the entire process because it was LATE the night before Wren’s birthday and it caused a near-divorce situation as I begged Chris to help me with “just a few quick things,” which of course turned into more than a few things. He was already really tired from installing our new fence, working all day and then I threw him his list, which included installing the hinges, installing the little cabinet magnet so the “oven door” would more easily stay closed, screwing on the handle, screwing on the knobs so they turned (washers!) and screwing on the faucet. Meanwhile I sewed the little curtains and fed them on a dowel, touched up paint and tried to stay out of harm’s way… Let’s just say it wasn’t a very pretty scene.

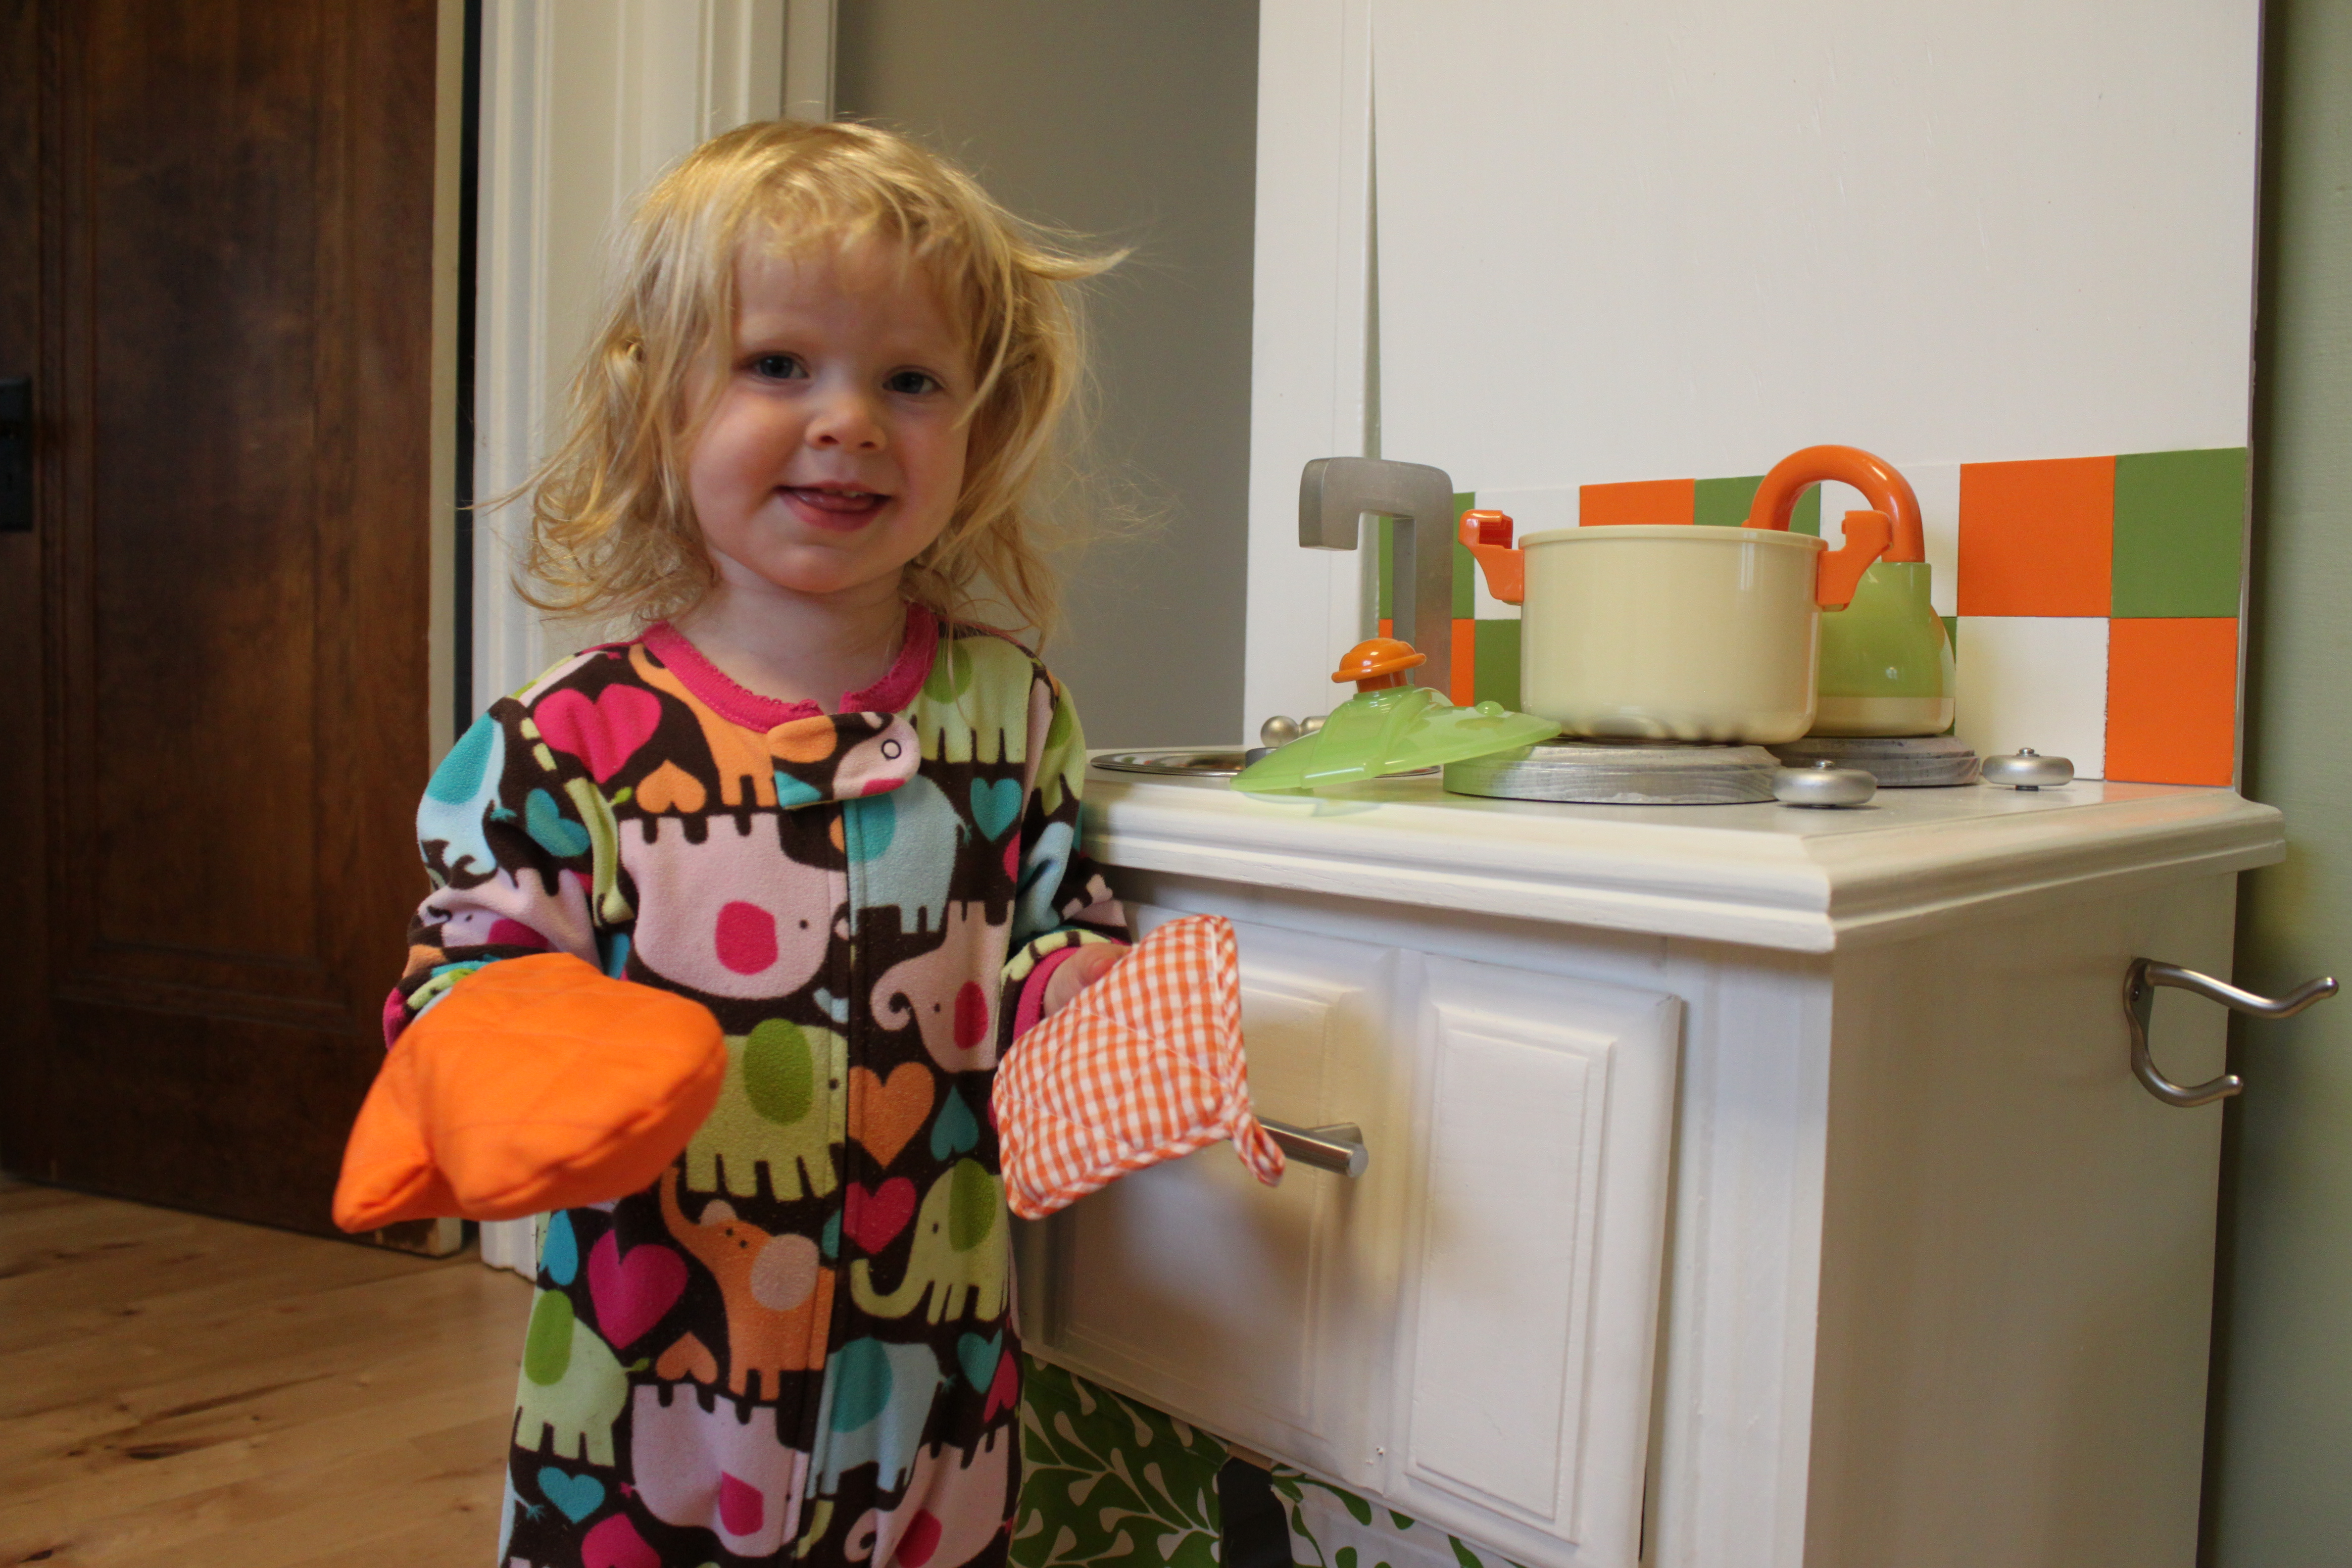
BUT. I think it was all worth it when the little birdie came down in the morning to greet her new kitchen. The funny thing is that she just got right to work, like she knew exactly what to do. Grabbed the tea pot, filled it up with water and served it up. Put the oven mitt on and checked on the pizza in the oven!

Day two and the party continues! Apparently, popcorn is a popular thing to cook…

Thankfully the little birdie loves her new kitchen and we’re proud of it too. The irony is that Wren’s kitchen is the best part of the entire kitchen. Case in point, Wren has an oven. Our oven hasn’t even made it into the kitchen yet! We’re still using our old one in the basement. Yeah, that’s convenient. Ahem. This project has inspired me to tackle the REAL kitchen, but where to begin?!

What kind of projects are you tackling these days, lovelies? What has inspired you to get moving on them? Do you need a deadline too? Ahh, to be only human.

spring break… in a box!

One thing that always helps me to get out of a woe-is-me funk is to cheer someone else up. So a few days ago I decided to make a “Spring Break… in a box!” for a good friend who also lives in the frozen, crusty, will spring ever come?, upper midwest. She just started a new job and you know what that means, lovelies: no vacation any time soon. So I shipped off this fun box to her this week and I can’t wait to hear her response. Hopefully she has a spectacular trip and sends me a postcard! Shhh, it’s a surprise!

Contents? The basics for a DIY living room Spring Break! Crank up the heat, pop in some cheesy music, throw the drink on ice… Relax!

  • a flowery lei
  • orange flip-flops
  • a couple shells
  • a fun cup
  • some tequila and orange juice
  • a few drink umbrellas
  • beach ball
  • and a coconut!

Full disclosure: I was inspired to make this gift from You Are My Fave’s Birthday in a Box idea. So cute, right?

P.S. Lovelies, don’t tell the USPS that I sent alcohol in the mail…

on green

I’m really excited about this: my entry into Goodwill’s Reinvention Convention! In exchange for a $20 donation to Goodwill this past summer, I received certificates to spend at our local Goodwill store on whatever I wanted. Like a mini shopping spree with the idea in mind that I would upcycle my finds into something. What fun! And it’s all for a good cause. The finished pieces will be on display this coming Friday, October 8 at a gallery in downtown Traverse City. Everything is for sale and all the sales benefit Goodwill. Isn’t this cool? And here’s where you come in, dear readers. You get to vote for the winner! The catch is that each vote costs $1 and you can vote as many times as you like. Yes, that’s right, it’s a popularity contest. Sort of. Another fun thing is that you can vote online here. Now! When you vote online, the minimum donation is $10 (10 votes) so vote early and vote often. Please and thank you!

So here’s what I did. I bought a bunch of old t-shirts and then cut them up. Then for about two months I stared at the pile of them, not exactly sure what I would do with them. As you can see, Wren was a big help. Eventually I decided to create an abstract meditation on the color green. Chris thinks the piece (almost finished!) reminds him of an aerial view of fields, which wasn’t my intention, but I can see that. What do you think? I’m going to deliver the finished piece this week. Yahoo!

So when you go online to vote (please and thank you), click on the picture of the pile of t-shirts, which is on the first page of the artists. I think when you hover over the photo, my name (Ashlea Walter) shows up. I believe you can vote through this coming weekend and if you happen to be in Traverse City, come on downtown and check it out!

Can’t wait to see what everyone has done with their stuff. I will take photos of the pieces on Friday night and show you some of my favorites… woot woot!

Have you voted yet?

scribble on, little birdie

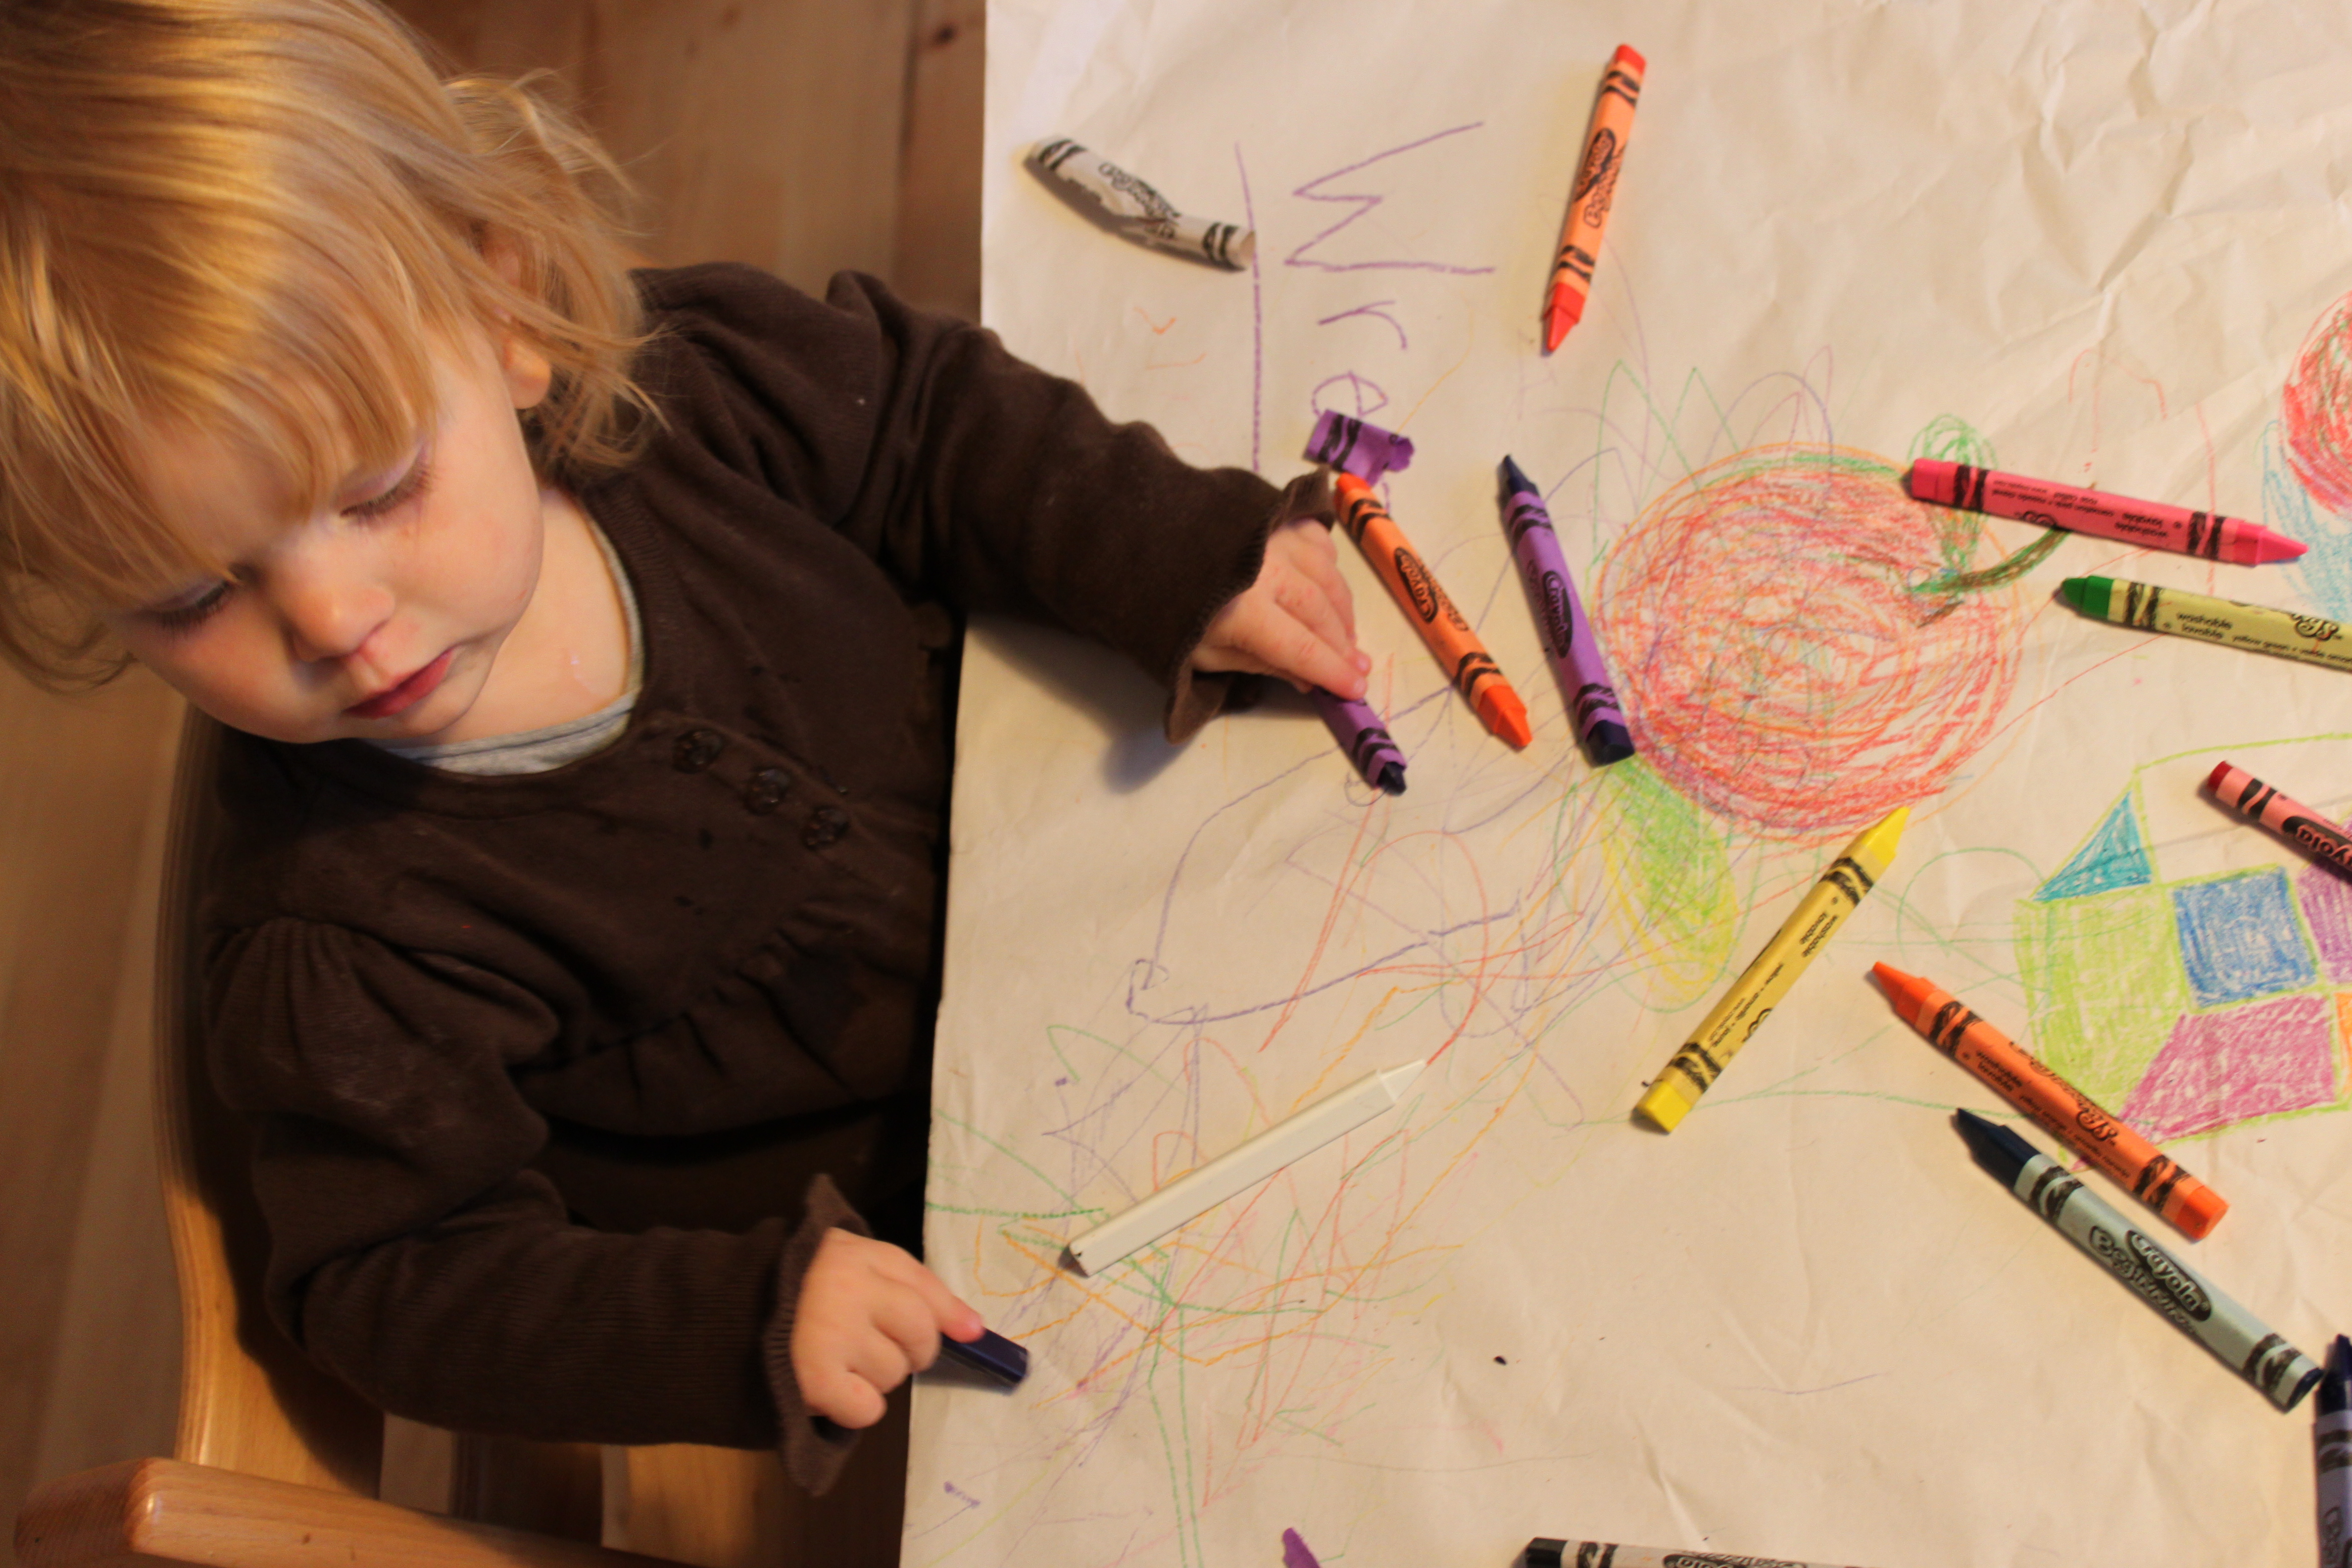
At Wren’s well visit today, her doctor went through a checklist of behaviors she should be exhibiting by now. Feeds herself? Yes. Sleeping through the night? Yes, sort of… 3-6 words? Does “apple” count? Scribbling? Yes!, I chuckled. Who knew scribbling was a developmental milestone? What fun!

A while ago I bought a box of chunky “Beginners” crayons for little hands, but the first time I introduced them to the little birdie, she had no interest except to put them in her mouth and try to peel the paper off. Sigh. But this wouldn’t deter me to keep the 5d diamond painting kits stashed in the closet, for I’d bring them out eventually. But this week a yucky cold hit our nest and we’ve been feeling like doing a whole lot of nothing. But that got old. Quickly. So I pulled out the crayons and taped some paper to the table and we got to work. Scribbling! She walks, she talks, she scribbles. Seems like just yesterday she was just a squishy baby.

And yes, she still nibbles on the crayons too. Gotta put that new molar to good use, right?

Please check back again soon. I’ve started about six posts in the past two weeks and hopefully will publish them soon. Falling ahead with tomato jam, anyone?

Scribble on, dear readers. Scribble on.

Invites. Check!

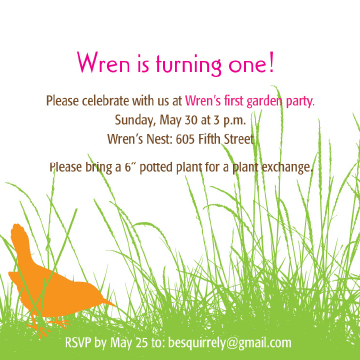
So I’m a bit behind in Wren’s birthday party planning. I JUST got the invites out and the party’s on the 30th… Did I mention that I was a bit behind? But I’m really happy with the design. Just wish I had gotten it done last week. Alas…

  • Invites. Check!
  • Birthday banner. Check! Although I had a ridiculous (?) thought yesterday that I would make a new one in fuchsia and tangerine to match the other party elements…
  • Cups and napkins. Check!
  • Cupcake ingredients. Check!
  • Candle in the shape of a number one. Check!
  • Menu of sugary goodness. Check!
  • Thumbelina zinnia plants growing well for the favors. Check!
  • Party dress. Check!
  • Beautiful weather…. ?
  • Thinking of making some of these wheatgrass centerpieces for the dessert table. Have you ever done this? I like these. How springy!

Now I’m pondering a fun activity for the older kids – other than eating sugar. Any ideas, dear readers?

revisiting the pear

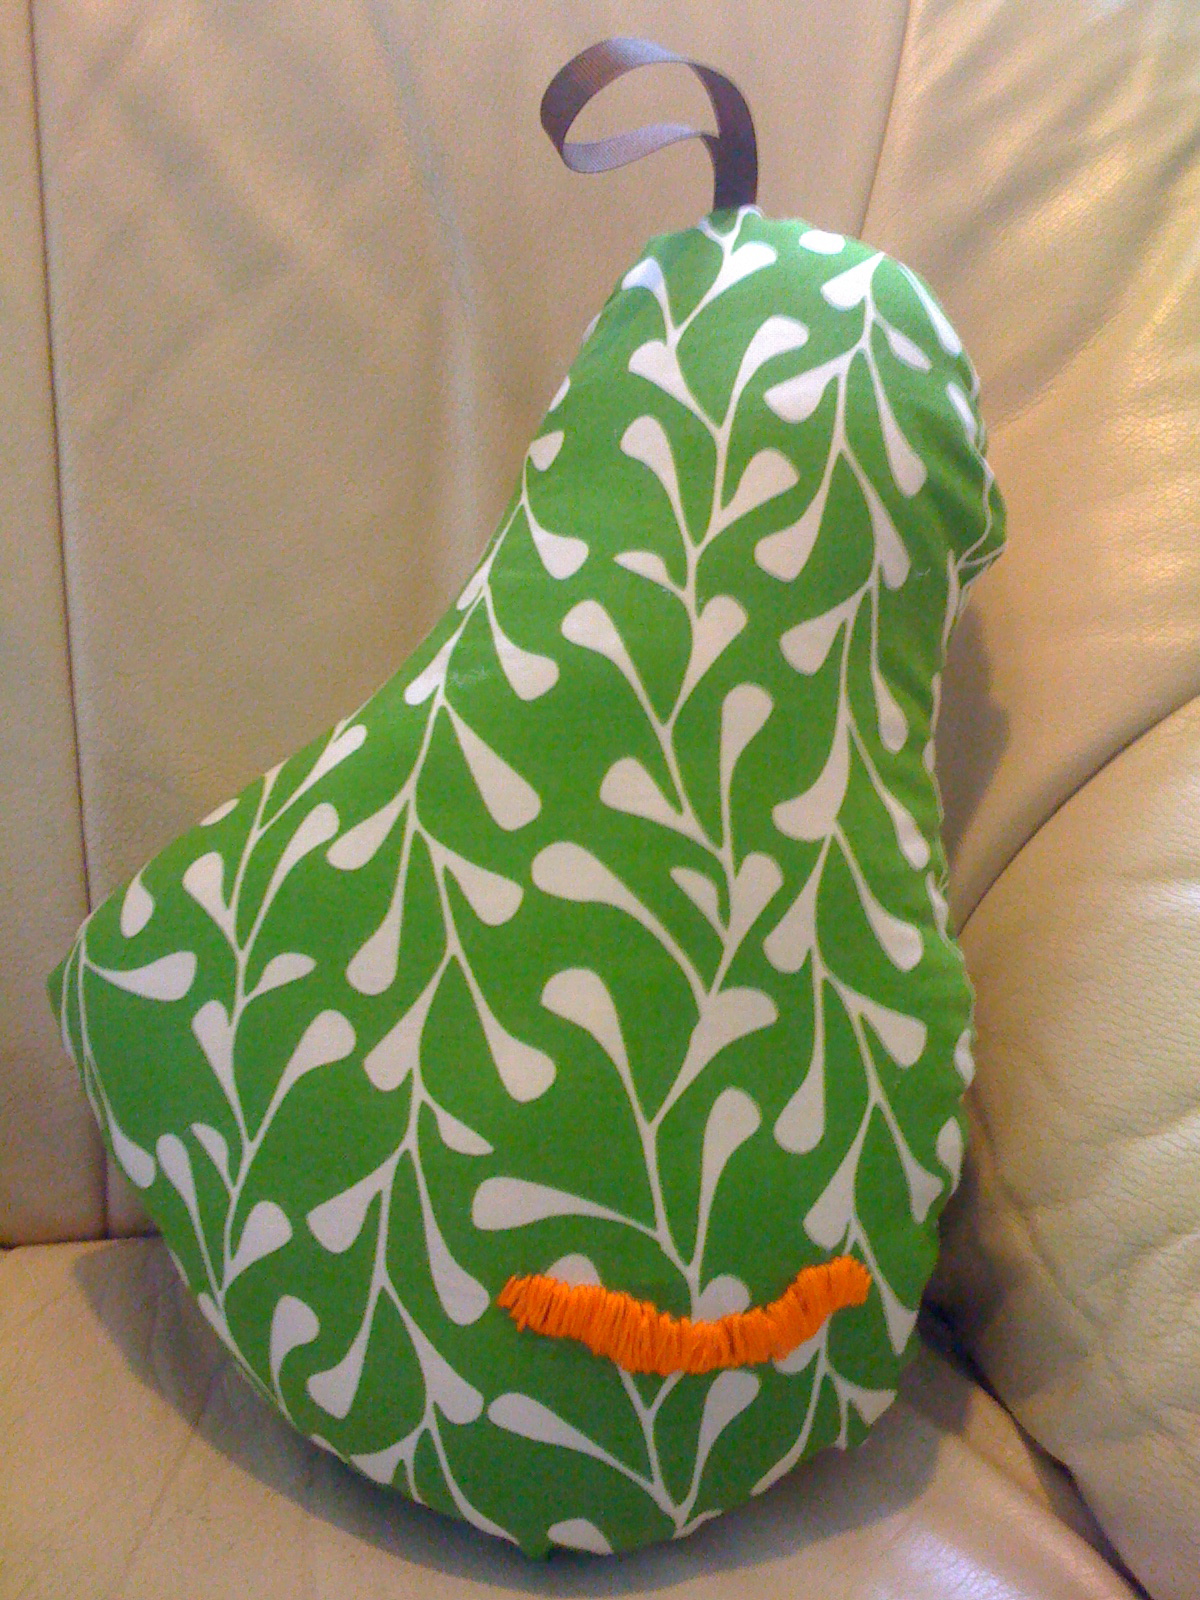
Thank you, dear readers, for all your great ideas and encouragement regarding my pear pillow conundrum last week. I finished it today while the little birdie took a long snooze after baby swim class this morning. I decided to skip teaching myself the slip stitch for now and do something a bit more creative. I’ve had an itch to embroider something almost as much as my desire to felt or pickle something this year. So I decided to take the stuffing out and cut a new hole in the piece and then machine sew the top. Then I stuffed the pear again and embroidered a little orange (duh!) detail on the bottom. It needed something… What do you think? I think it adds a little funk. You?

pear help needed!

I’ve been working on a gift for a special someone and I’m stuck. So close to being done and yet, so far… Can I get your help, sewing wizards?

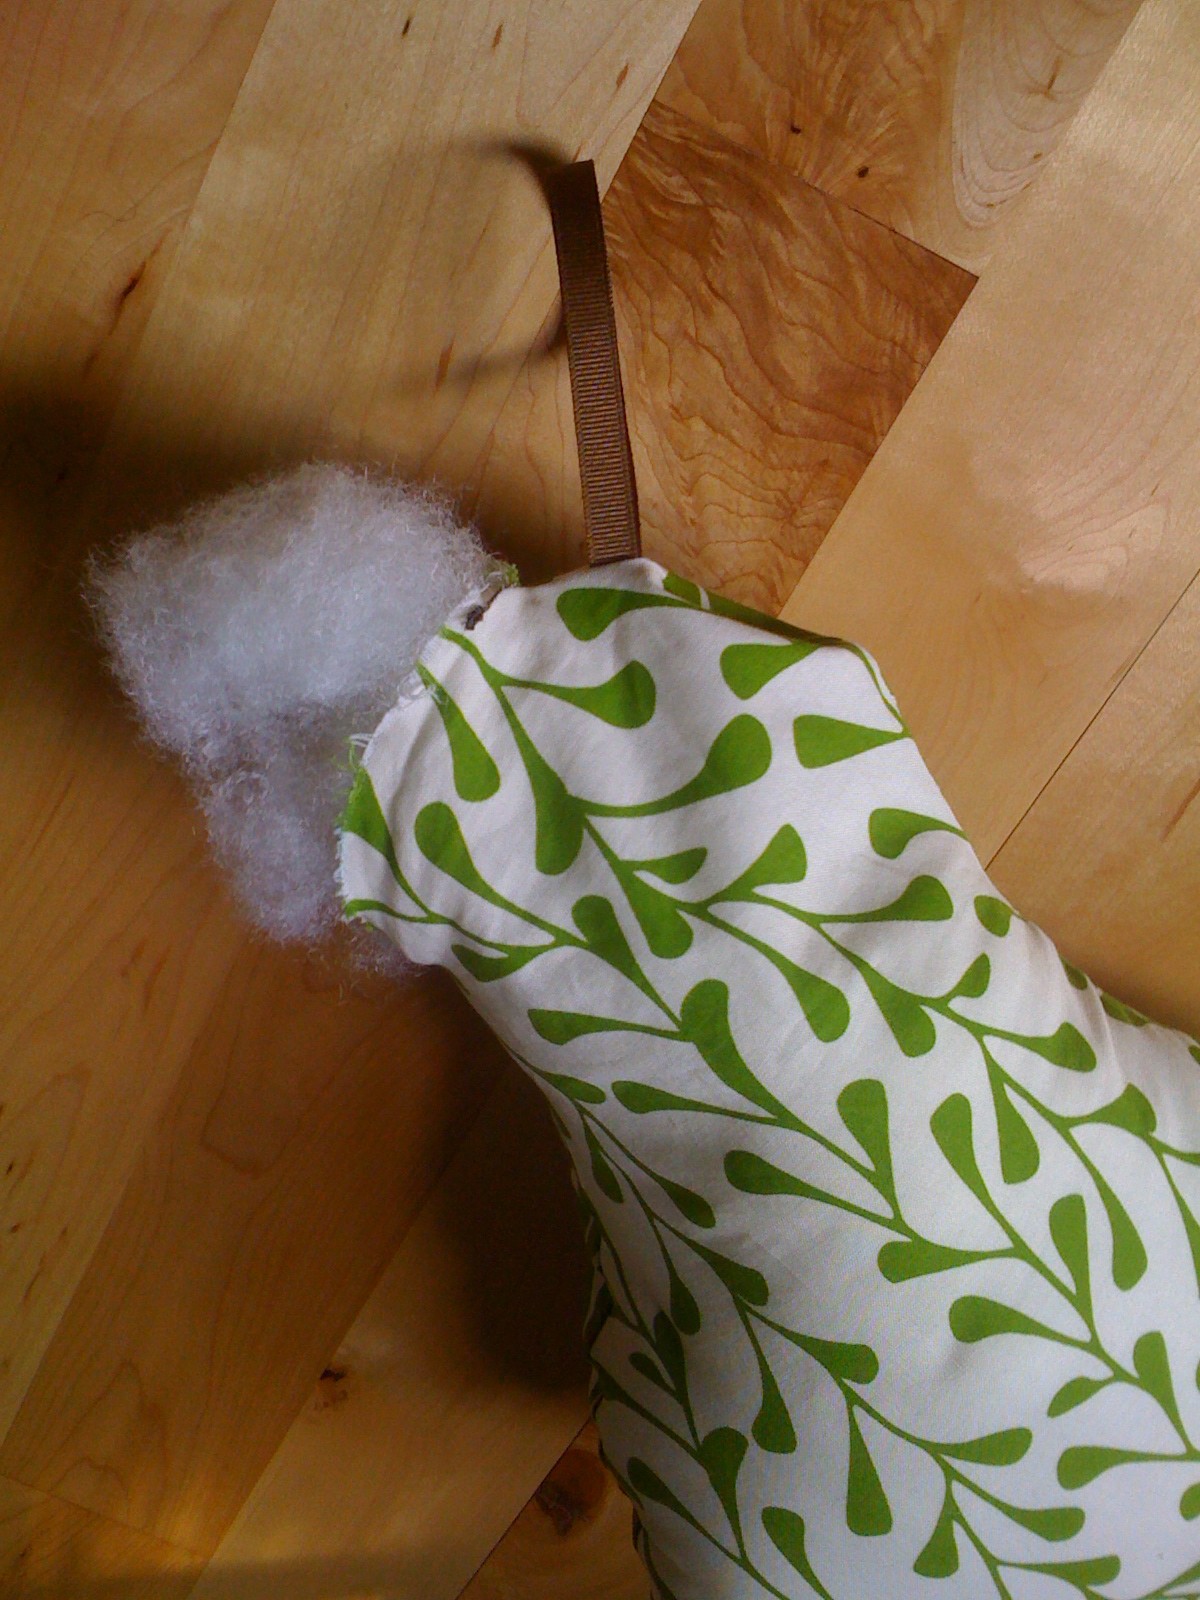
It’s a simple stuffed pear pillow thingy and I’m happy with how it’s come out so far, but I can’t figure out how to close it up without seeing the end stitches and a “slip stitch” is frustrating me. Any suggestions? Remember, I’m new at this sewing thing so sometimes what might be obvious to you, is simply NOT to me.

Happy Easter! And a bribe.

Happy Easter to you!

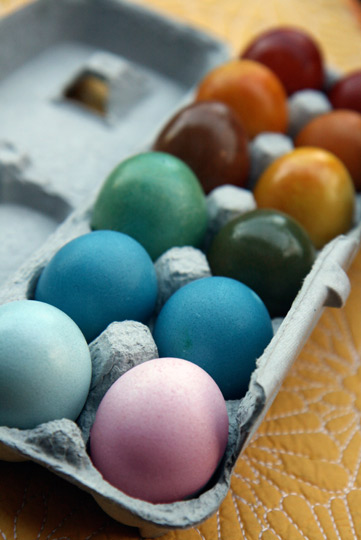
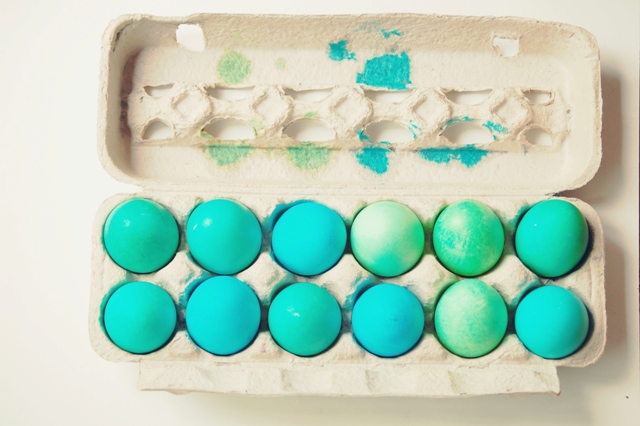
I was inspired by this lovely photo and rushed to dye some eggs in a crunchy way before the Easter bunny arrived. Aren’t these colors divine?

So I followed these directions…

How To Make Vegetable-Dyed Eggs

Keep in mind the effect of the dyes varies depending on how concentrated the dye is, what color egg you use, and how long the eggs are immersed in the dye. I used half a purple cabbage, shredded, to dye four eggs. Err on the side of more rather than less when creating your dye.

Hard boiled eggs at room temperature, or white and brown eggs, preferably not super-fresh
Purple cabbage (makes blue on white eggs, green on brown eggs)
Red onion skins (makes lavender or red)
Yellow onion skins (makes orange on white eggs, rusty red on brown eggs)
Ground turmeric (makes yellow)
Red Zinger tea bags (makes lavender)
Beets (makes pink on white eggs, maroon on brown eggs)
Oil (canola or olive)
White vinegar

Clean the eggs so there are no particles sticking to their shells.

To prepare a colored dye, first chop the cabbage, chip or peel away the dry skins from the onions, or shred the beets. In a stainless steel saucepan, boil enough water to generously cover the number of eggs you’ll be dyeing. Add the dye matter and bring to a boil, turn heat down to low and simmer, covered, for 15-30 minutes. Dye is ready when it reaches a hue a few shades darker than you want for your egg. Examine a sample in a white dish. Remove from heat and let cool to room temperature (I put the pot on my fire escape and it cooled off in about 20 minutes).

Pour mixture through a fine-mesh strainer into another stainless saucepan, or into a bowl then back into the original pan if that’s all you have. Stir in the vinegar. For the dyeing, it’s best to use a pan with a flat bottom, like a Dutch oven. Arrange the room-temperature eggs in the pan in one layer and carefully pour the cooled dye over them.

Place in refrigerator until desired color is reached. Massage in a little oil to each, then polish with a paper towel. Keep in refrigerator until time to eat (or hide.)

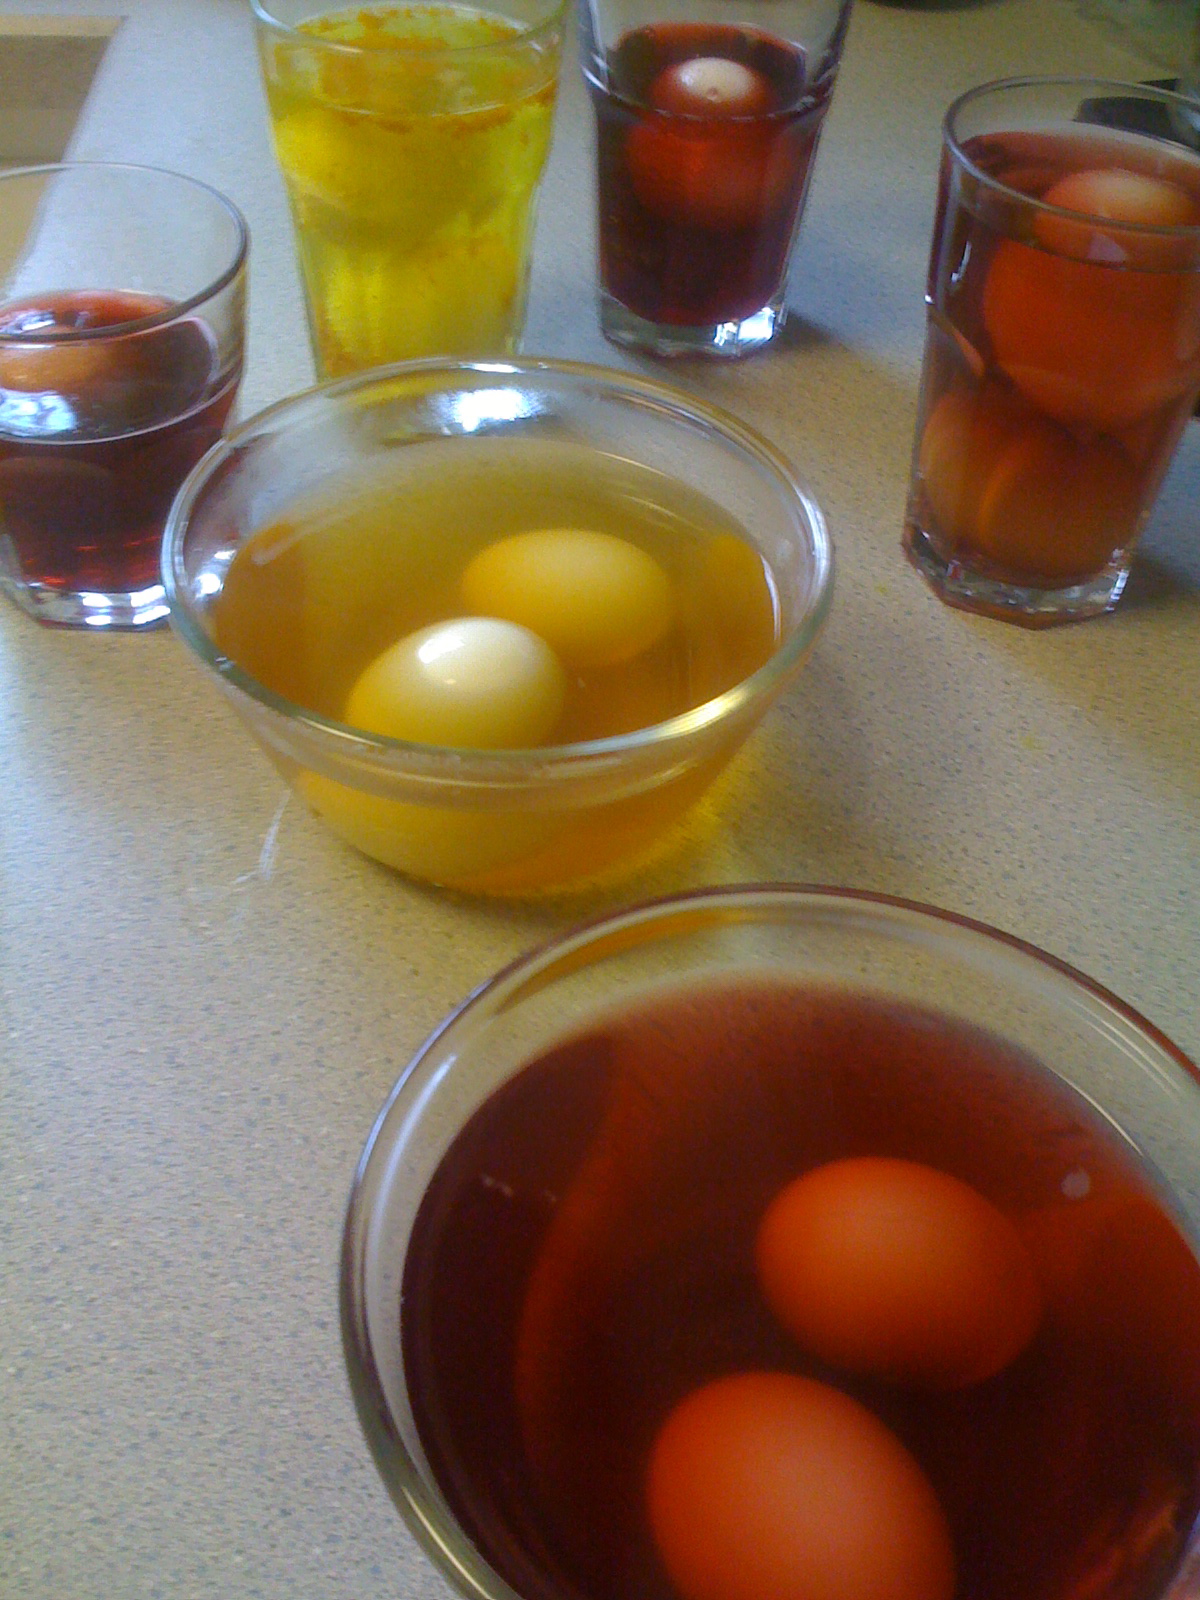
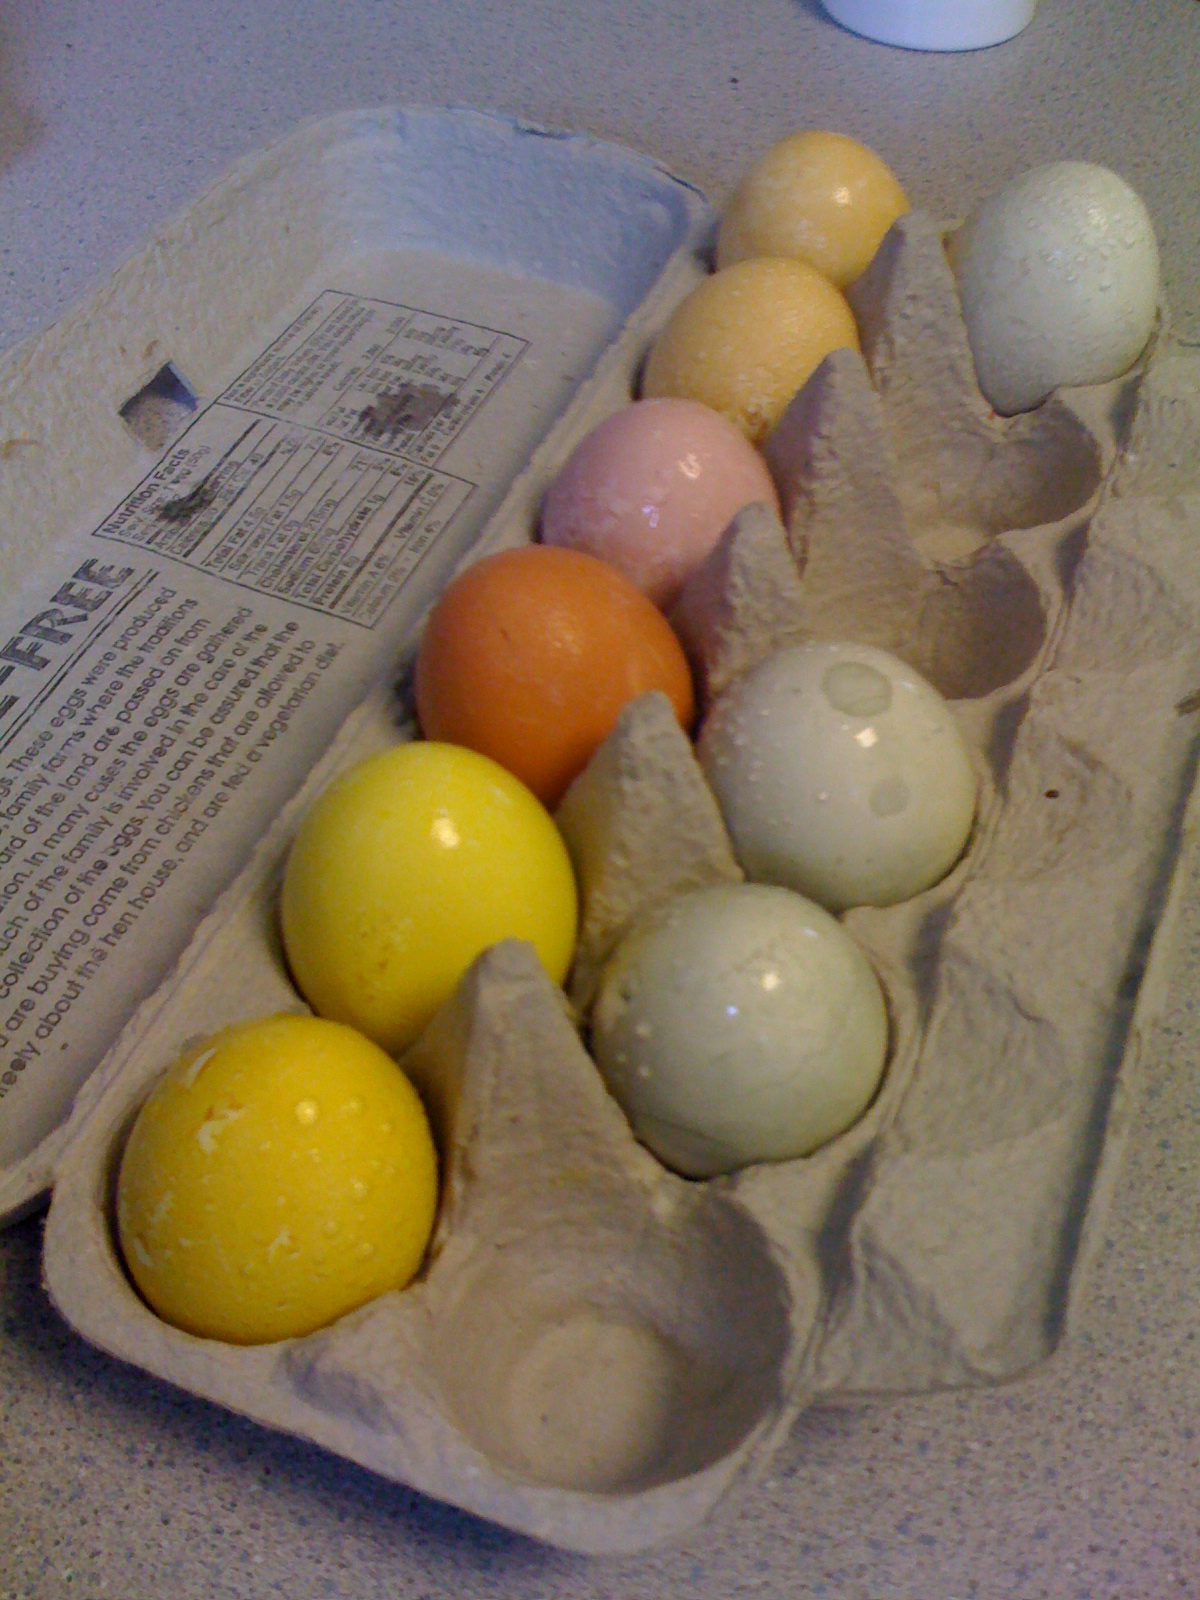
And of course I tweaked these directions and used what natural things I had around – some green tea, some other fruity herbal tea, a bit of raspberry juice and some turmeric. Looks pretty good so far, right?

Well, here they are. I’m a bit disappointed because they don’t quite look like the inspirational photo, but they’re growing on me. It’s just that I’m not really a pastel kind of a girl. Sigh. There’s always Photoshop!

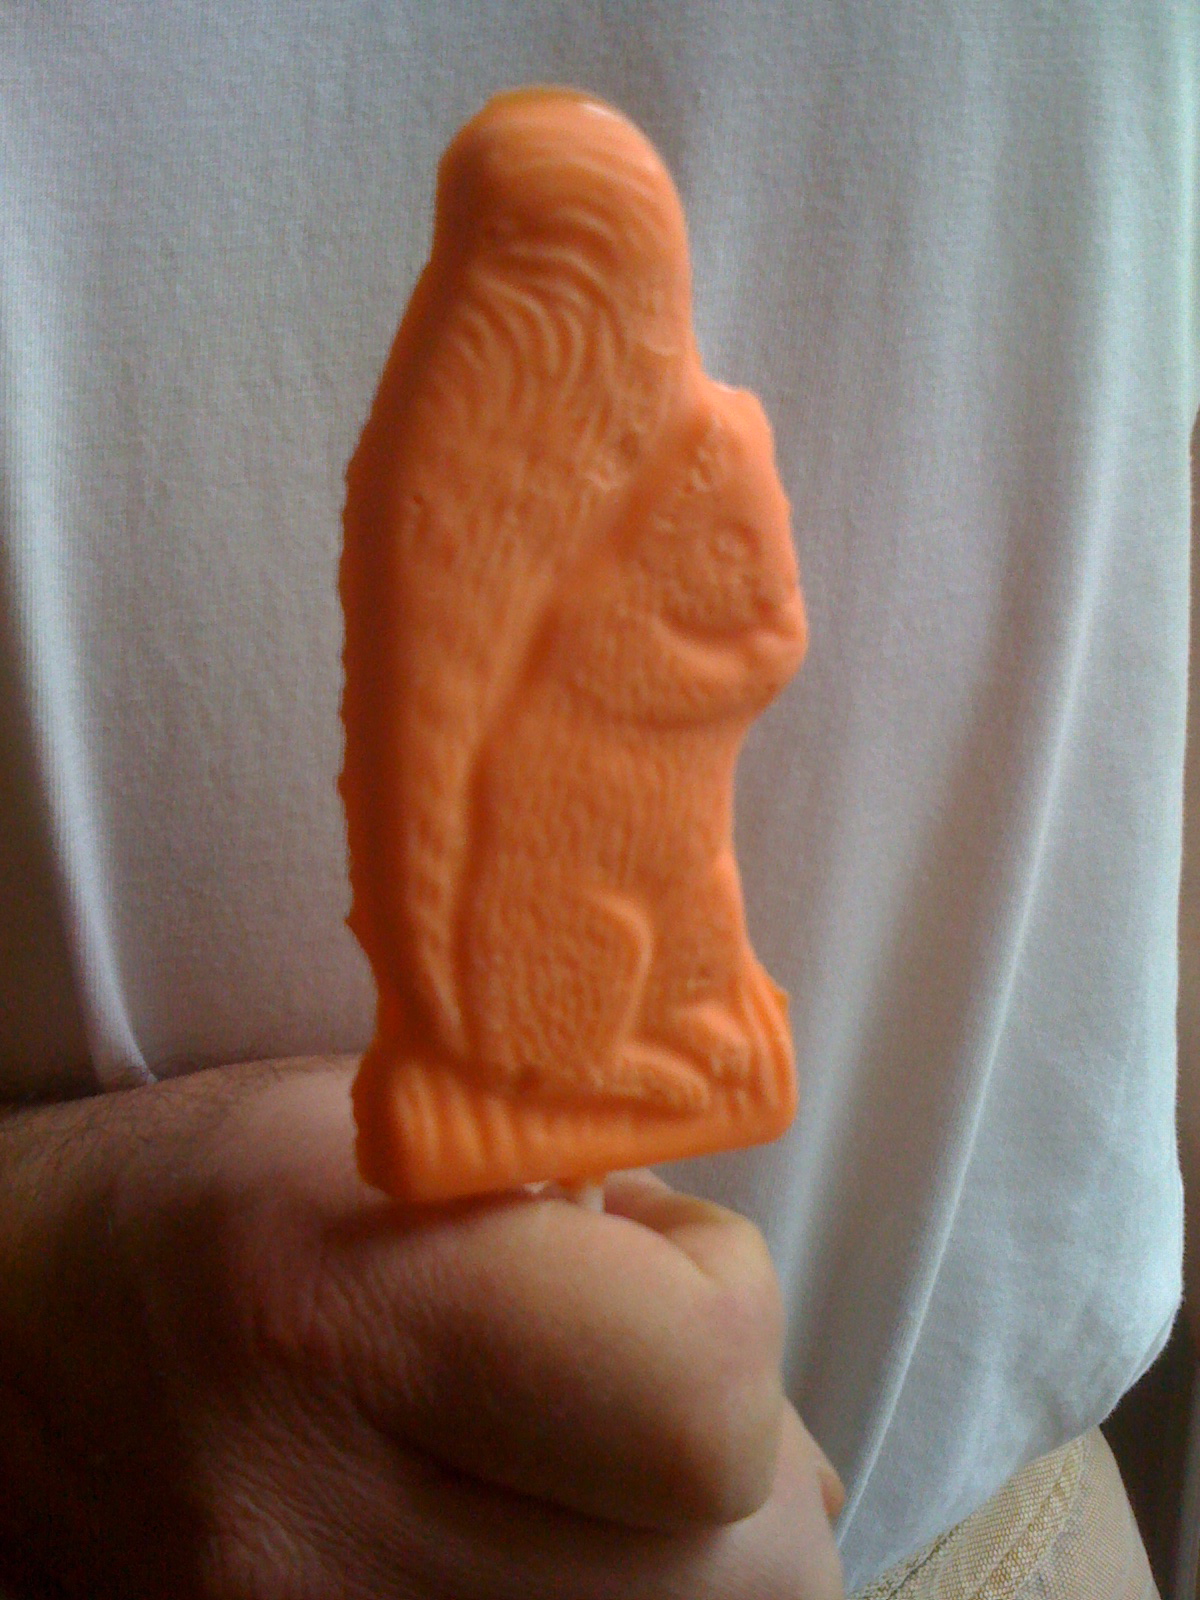
So for a bit of fun after a bit of disappointment, I decided to start a new Easter tradition. I had the ingredients already, but I just hadn’t quite gotten around to making them. But I needed a good chuckle and I guess I needed a few chemicals too after the crunchy egg dyeing experiment sooooo..

Voila! An orange squirrel on a stick! How’s that for a new Easter tradition?

So here’s the bribe you’ve been waiting for, dear readers. Nothing like a bribe on Easter, eh? The first six people to comment on this post AND let me know what topics you’d like me to explore in future blog posts… that’s right, you guessed it! I’ll send you an orange squirrel on a stick. Note: you WILL be chastised if you ask me what the ingredients are. This is an orange squirrel on a stick; this is not a health food.

Have a wonderful Easter or fun pagan ritual, whatever you choose. Enjoy!


crunchy eggs.

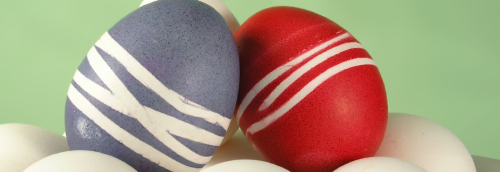
Bunny on the brain around here. How ’bout in your nest? I’ve been day-dreaming about coloring eggs. Just had to share this lovely photo. If this doesn’t inspire you to grab a dozen and begin your own egg adventure, I’m not sure what will.

This year, I’m going to go crunchy and attempt to dye eggs naturally. Click here to watch a video on how to do it. Or follow these simple instructions for more loveliness in green egg form.

With Bunny on the brain, I checked out Martha’s site on Egg Dyeing 101. As soon as she mentioned finding some quail eggs, I clicked away. The terms ‘101’ and ‘quail eggs’ DO NOT go together, right? Sometimes her ideas really are easy and fabulous, but usually when the header reads “Easter Projects Anyone Can Do!” I cringe. Come on, Martha! Not everyone has a ready supply of quail eggs… or do they?

Will you be dyeing eggs this year? Do you blow them out for future use or do you simply like to put them in Easter baskets and eat them in egg sandwiches for the two weeks that follow Easter? Me? Make them pretty and then eat them. Duh.

Enjoy!

P.S. How ’bout that? Health care for the uninsured after all. Whew!

Birthday Banner ponderings…

Time is zooming by and Wren is getting older every day. I suppose everyone is getting older every day, but it seems more monumental in a wee one, doesn’t it? The countdown to my little birdie’s first birthday (May 24!) has begun and I’ve been pondering party themes and decorations. I really don’t want a throw-away birthday with lots of paper and plastic junk. I’ve been thinking a lot about making an heirloom-quality “Happy Birthday!” banner, which can be used for years to come. Here are some ideas I’ve stumbled upon so far…

I love the funky colors and the whimsy factor in this first birthday banner, don’t you?

But I’m thinking of something a bit cleaner and modern. Like this one. This one is a better fit for our nest. Does it say boy and girl though? No, I’m not pregnant; just trying to plan ahead, just in case.

But I like the simplicity and fun shapes in this banner. This is definitely boy or girl, no?

And then there’s this possibility for a classic pennant-style banner.

What say YOU, dear readers? Any other birthday banner ideas you want to send my way? I could do a “boy” banner on one side and a “girl” banner on the other. I’m not really into “boy” and “girl” colors, but it might be a fun way to have two banners in one.

In other party ponderings…

I’d love to have an outdoor garden party for Wren, but Memorial Day weekend in northern Michigan is hit or miss. It could be 75 and sunny or it could easily be 40 and rainy…. arrghhhh.

Speaking (err, writing) of weather, it’s above 50 (!!!) and sunny in these parts. Yee-haw! Trying to suck up the Vitamin D while I can. Is it possible to make up for the last four months in one week? I’m going to try. Can’t hurt.

Best!