DIY Tag Blankies!
Two friends just had babies in the last month – a girl and a boy. How fun! Bliss. Happiness. And a bit of sleeplessness…
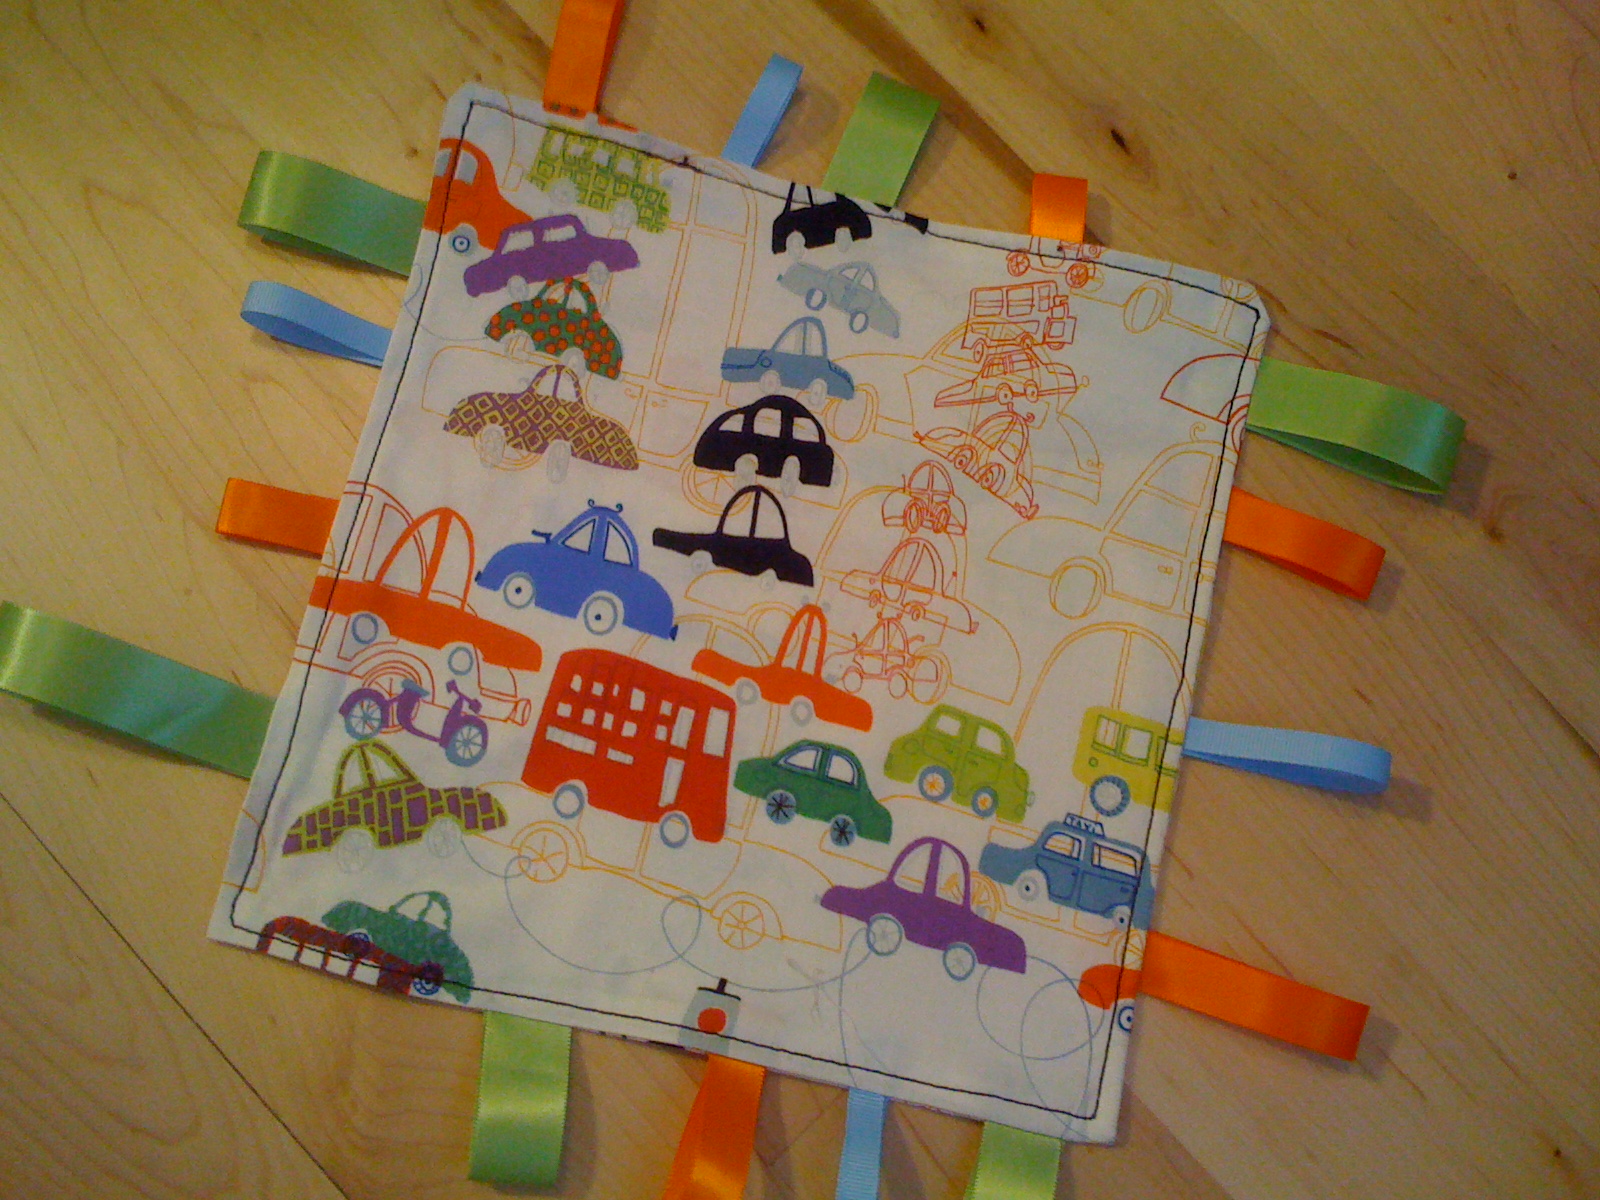
As you might know, I’m really not into pastel colors for babies (although Wren looks really pretty in pink) so I decided to make some funky tag blankies for the brand spankin’ new babes using lots of bright colors and patterns. And babies love tags, right? Give a baby a beautiful, earth-friendly, educational, ergonomic, expensive toy and they immediately grab for the tag and start chewing. Sigh. Might as well indulge their infantile interests…
One can easily walk into a store (or click over to Amazon) and buy one of these for about $20, but they are so much fun to make and of course, lots more meaningful. Plus the ones in the stores are always light green, light blue, light yellow or light pink. blech. And remember, lovely readers, I have been actively sewing now for about six weeks so this is a BEGINNER project that doesn’t require a lot of skill or super special materials, yahoo!
Simple Instructions
You’ll need about a 1/2 yard of fabric and sixteen pieces of ribbon in different lengths and colors. This is the fun part – be creative with your fabric and ribbons!
1. Measure and mark two 13-16″ square pieces (depending on how big you want your finished blankie) directly onto the wrong sides of the fabric and then cut these pieces out.
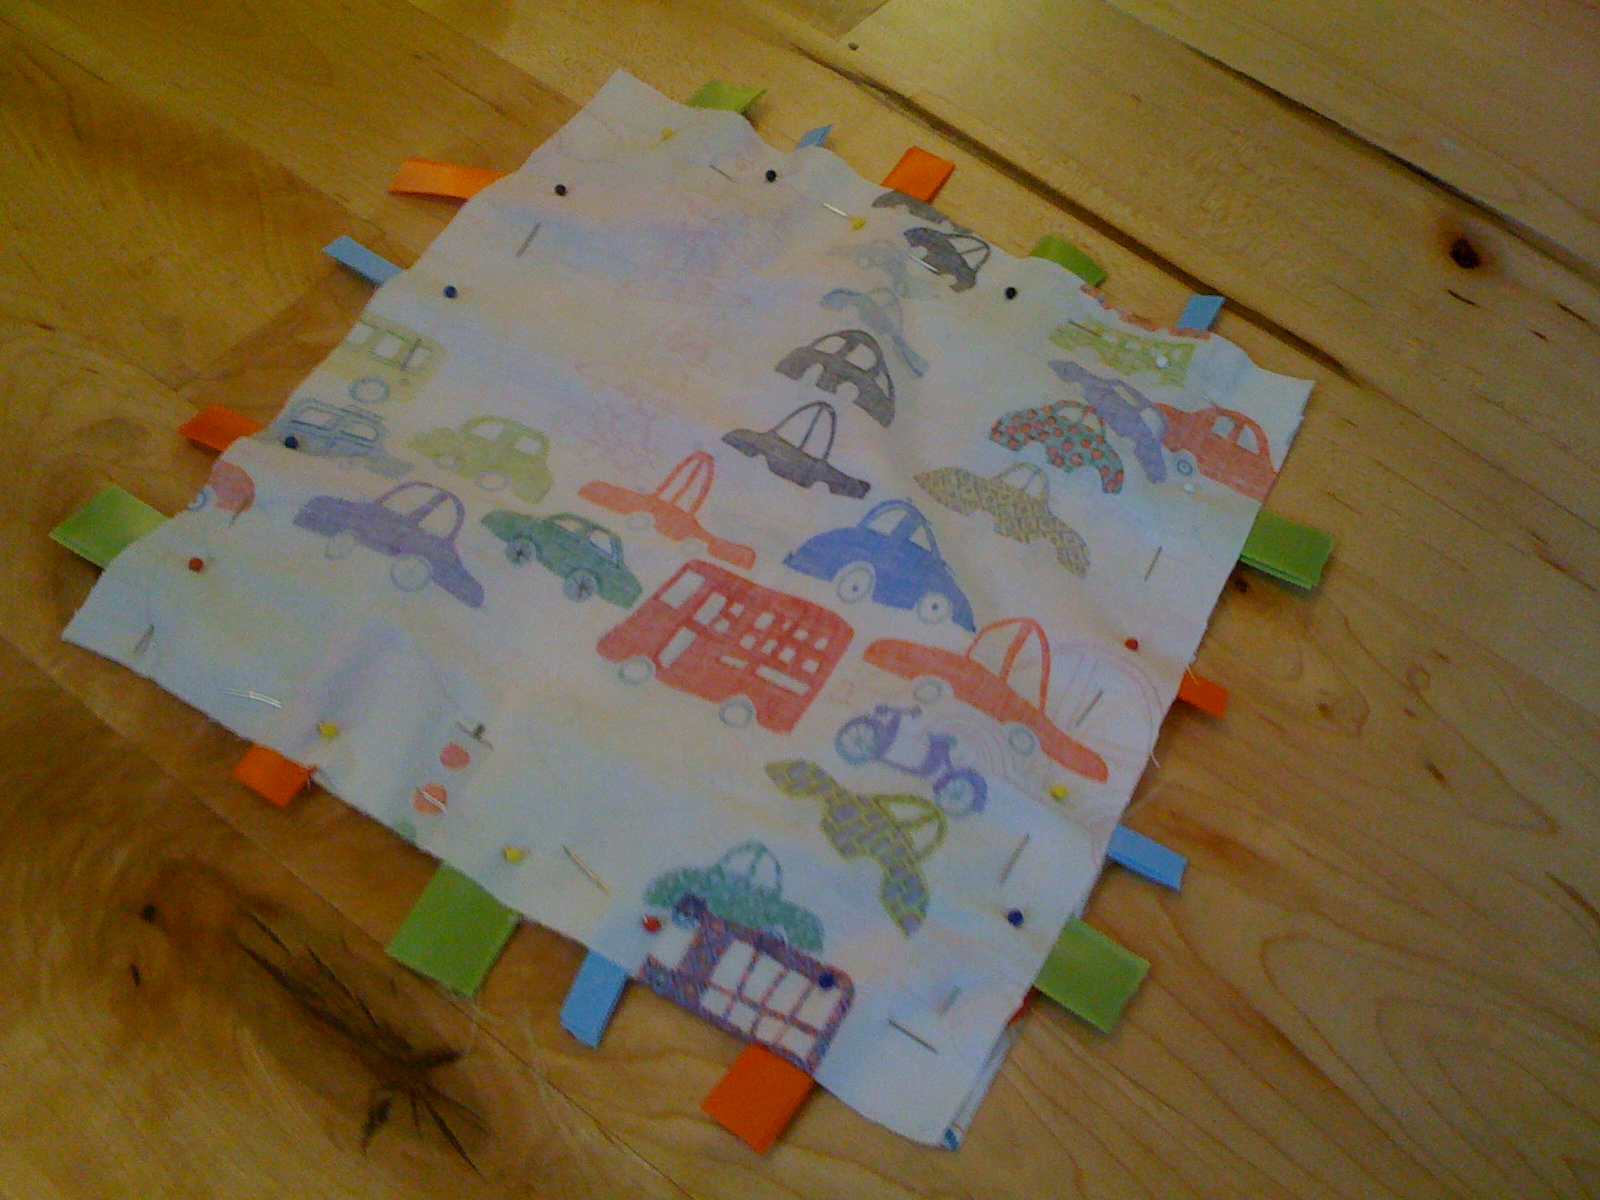
2. Place the two fabric pieces right sides together and fold the ribbon pieces in half. Pick a side, any side. Sandwich the ribbons between the two fabric pieces with the folded (finished) edge inside the fabric and yucky edges aligned with the yucky edges of the fabric. Space them out evenly (or not – be creative) and pin the various ribbons through both sides of fabric as you make your way around the square. Repeat on other sides. Leave a bit more of an opening (about 3-4 inches) on one side.
3. Time to stitch! Machine-stitch (or by hand if you’re into that kind of thing…) around the entire square, which then secures the ribbons in place as you go. Continue to leave that same 3-4 inches open.
4. Turn the blankie right side out – getting close here! Press about a 1/2 inch seam allowance on the top and bottom of the opening and press then press the whole blankie. Looking good now.
5. Machine stitch a 1/4 inch or so seam around the entire edge of the blankie (why not use a fun color thread here?) and make sure to close that opening. Voila!
Adapted from Lotta Jansdotter’s Simple Sewing for Baby.
Confessions.
- The real indicator of when it’s time to put the holiday decorations away is when you can’t find peppermint stick ice cream in the grocery store anymore.
- Orange is my favorite color today. Yep, still is.
- I have a weakness for frozen Cokes.
- Spelling is really important to me, but I am too proud (stubborn?) to use spell-check. If I spell something incorrectly, please alert me ASAP!
Best!


